Wheelchair-Accessible DIY Project Update: Tools, Setup, and First Steps
A real-life wheelchair-accessible DIY project update. About slow progress, new tools, and setting up a spoonie-friendly workspace to achieve my goal: creating a wheelchair-accessible home library.
My Wheelchair-Accessible DIY Project: A Very Slow Start
It’s been a while since I wrote about my wheelchair-accessible DIY project: turning my neglected cat room/music room/dumping ground into a beautiful, wheelchair-accessible home library—with room for my pianos, my desk, and, of course, a dedicated space for my cats.
More than six weeks have passed since, and you might be wondering: what have I achieved since?
Well, to be honest… not all that much.
Project Cat Condo (and My Poor Joints)
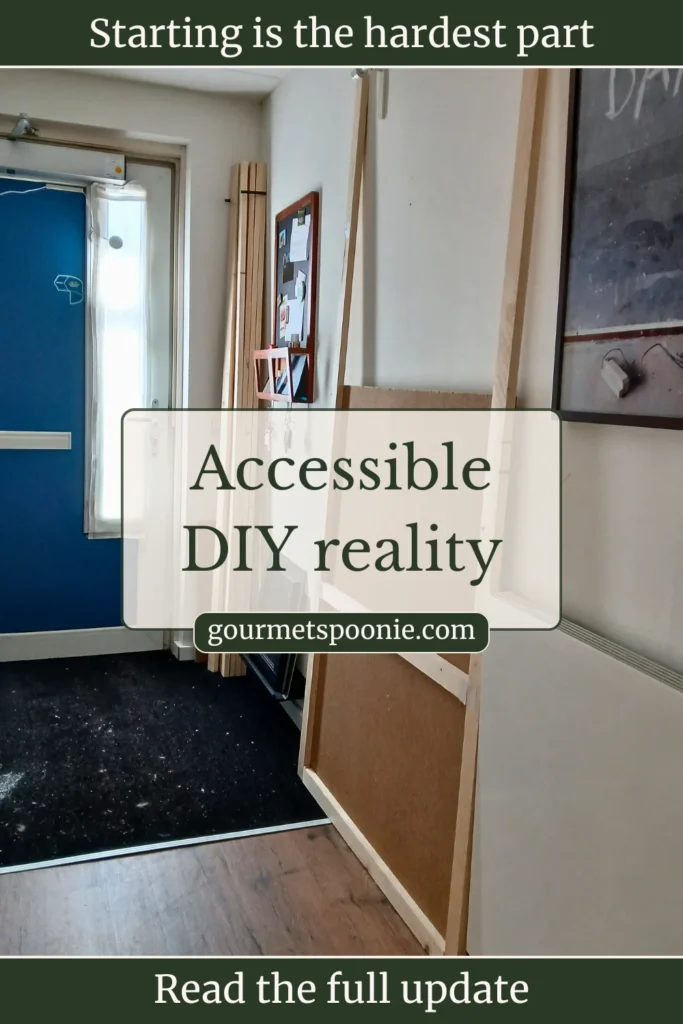
As part of this wheelchair-accessible DIY project, I decided to start with the most important part of the makeover: Project Cat Condo.
The wood stood in my hallway for a couple of weeks. Untouched, and being rather a pain in the arse whenever I needed to do a food photoshoot—because my hallway doubles as a photo studio.
Eventually, I managed to get started, and got… not even half a panel finished yet.
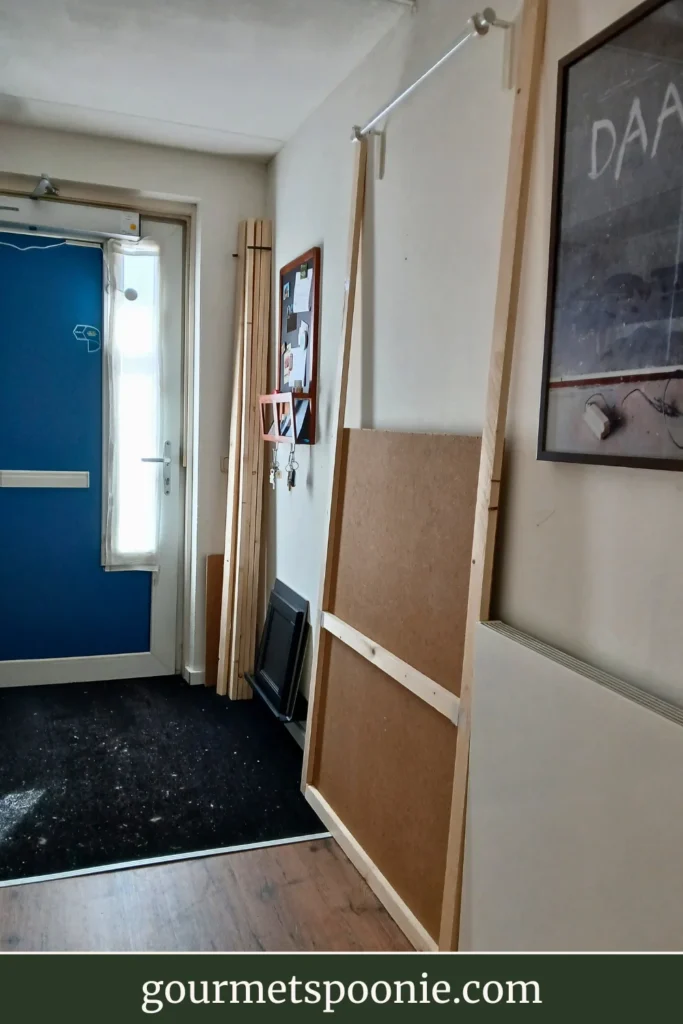
Because let me tell you, attaching hardboard sheets to a wooden frame (with hammer and nails) is absolute murder on my poor EDS joints.
Challenges like this one are key to how I develop low-energy, accessible DIY projects
Buying New DIY Tools
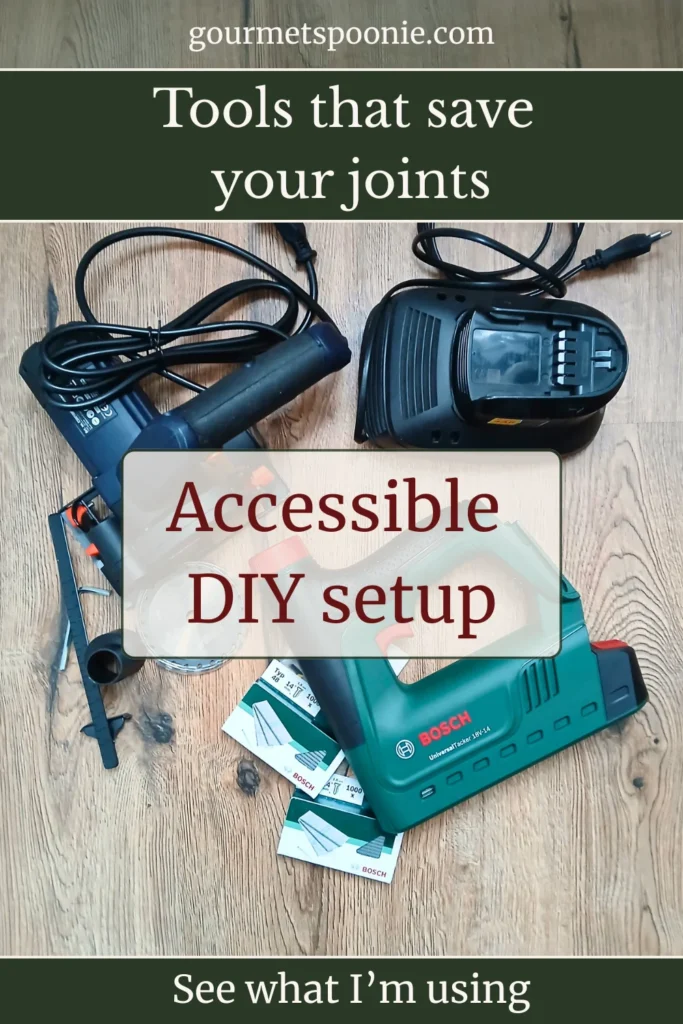
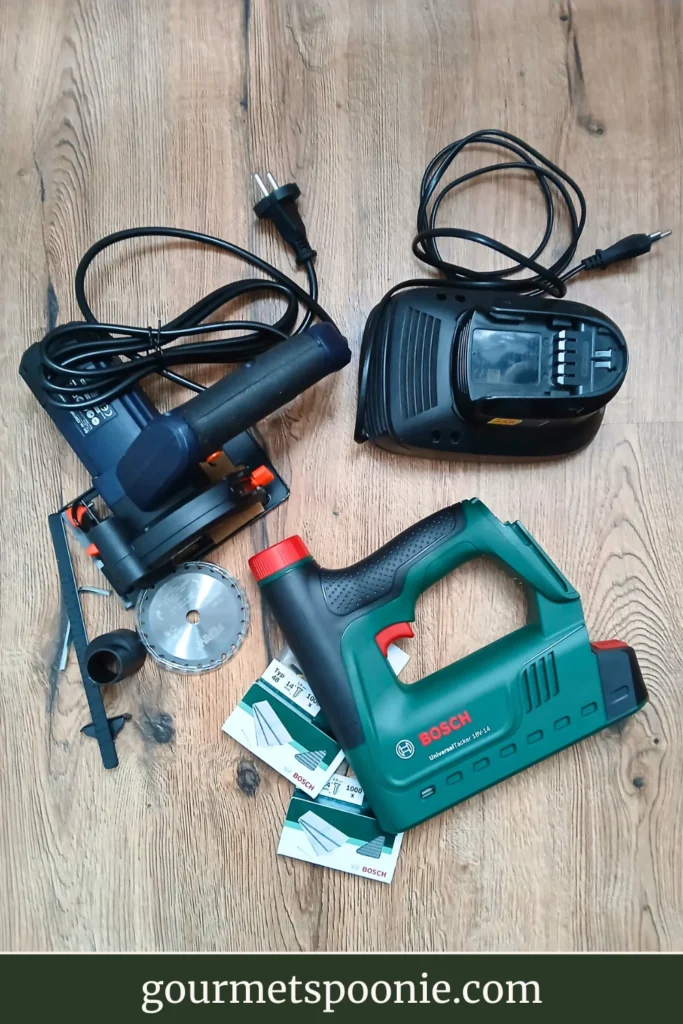
So I decided to get myself a proper tacker—one that can handle nails. But of course, the DIY shop didn’t carry the nails for it, so I had to order those online. Those two tiny boxes (packaged in a far too large one) took several days to arrive, but I now have no fewer than 2000 nails for my tacker (a Bosch 18V Universal Tacker, in case you were wondering).
Sawing wooden slats to size with a jigsaw is also… less than ideal. So when I saw an ad for a mini circular saw, I decided to take a chance. It may not be the highest quality tool, but at under €20, it felt like a reasonable gamble for this project.
Having the right tools is not a luxury when you’re working with limited mobility, joint instability, and low energy.
Why DIY Tool Organisation Matters
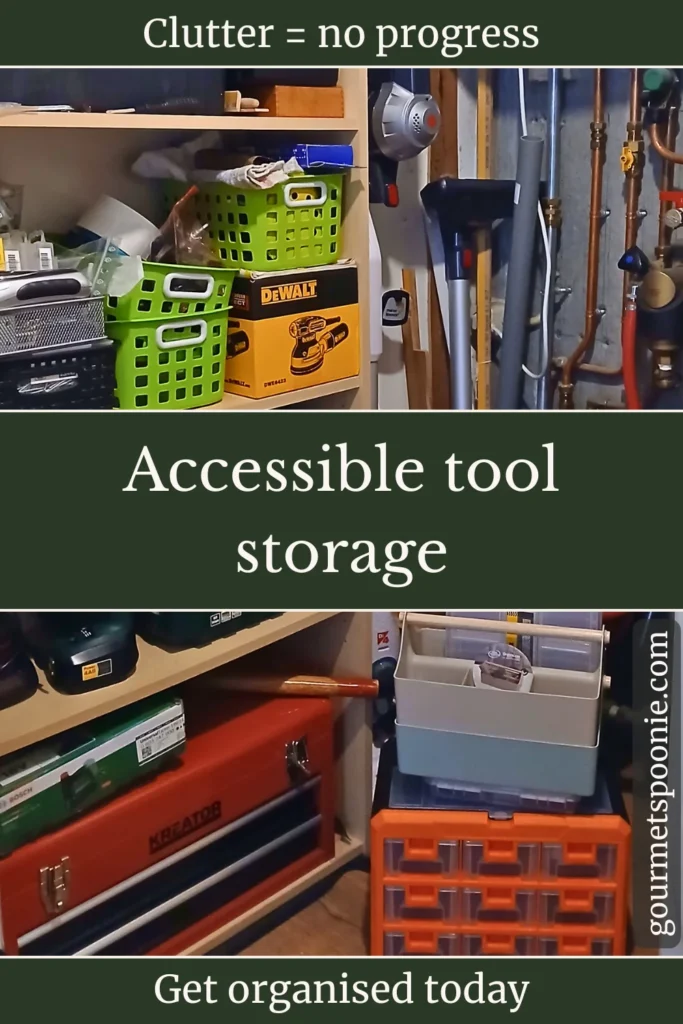
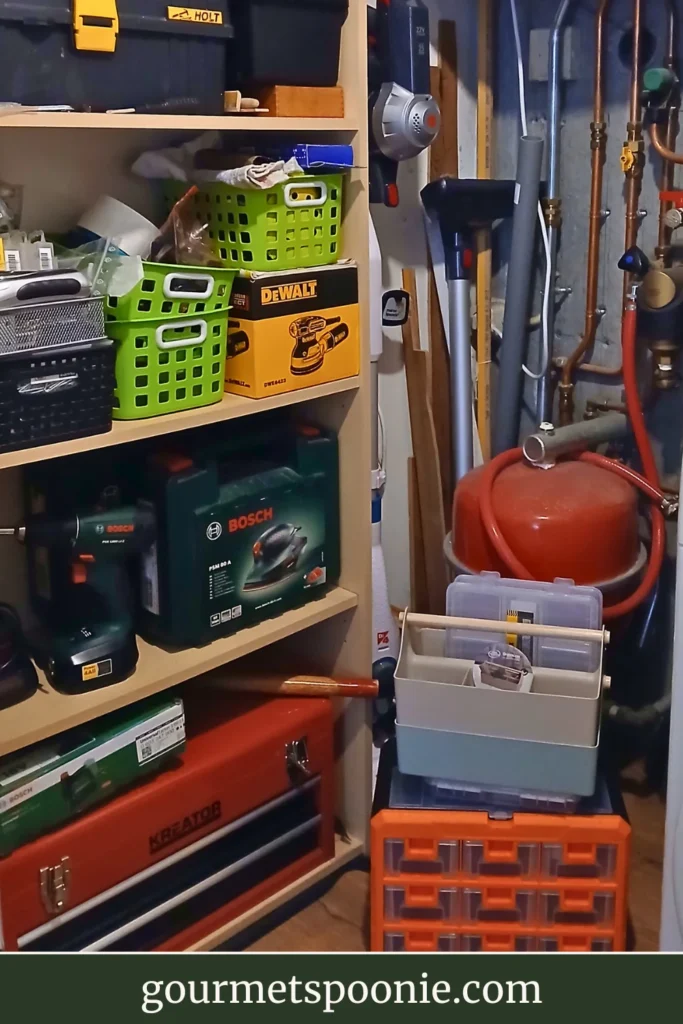
However, once I had (what I hope are) the right tools, I looked at my DIY/tool cupboard—and immediately felt overwhelmed by the mess.
I simply can’t work when I don’t know whether I have the right screws, nails, and bits and pieces. I need to see everything clearly and have it within easy reach—especially in a wheelchair-accessible DIY setup.
So on Easter Monday, I went out to buy storage organisers instead. While I had planned to actually get some DIY done that day, by the time I got home I was completely knackered. I didn’t even get around to the actual DIY tool organisation, let alone trying out my new tools.
Spoonie Wins Are Still Wins
So that’s the progress I’ve made. It may not be much, but it still counts.
Getting the right tools and setting up a better storage system may not look like visible progress, but it is an investment—not just in this wheelchair-accessible DIY project, but in future ones as well.
So this is what a DIY project with chronic illness looks like. It’s not linear, and it’s certainly not fast, but it is steady in its own Spoonie way.
Somewhere over the next few days, I’ll get that storage system up and running. And once that’s done, I’ll continue with the cat condo project.
And hopefully, next time, I’ll have something a little more tangible to show you.
Want ideas to help you create your perfect Spoonie home?
Sign up for the newsletter and get Spoonie-friendly design ideas straight to your inbox.
Enjoyed this post? Pin it!